This is the third and last post of a series of introducing FreeBSD to Linux users. You might want to take a look at the first post (talking about some things different from Linux) and the second one (about binary updating and package, user and service management) if you have not done so already.
If you’re all new to FreeBSD (or the BSDs in general) I tried to sum up the most important things to know about this OS family in another post. And if you want to know how to install FreeBSD (and what disklabels are as well as some other *BSD specific stuff), there’s yet another post dealing with it.
So what are we up to this time? There are a few topics left that I want to write about (and quite some more that I would like to touch on, too – but it doesn’t make sense to try and put too much into too little space): Updating binary packages, the ports system and updating “world” (the OS itself) from source.
Updating packages
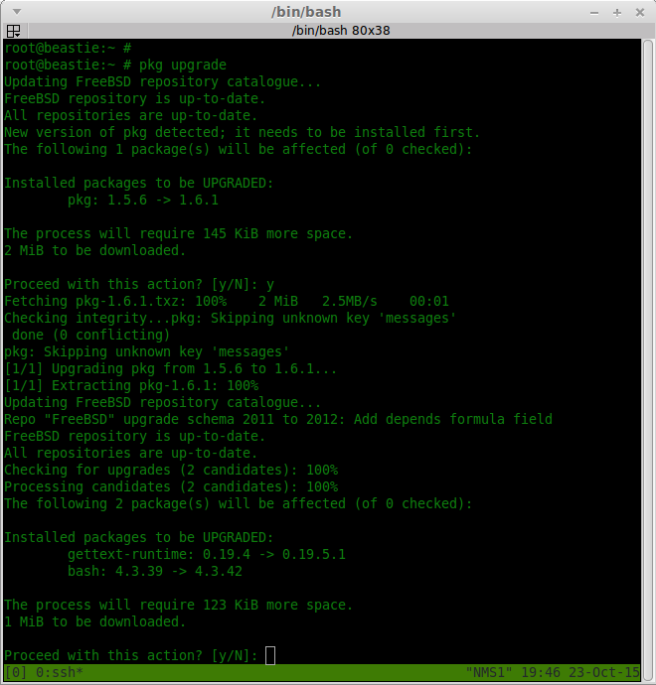
In the last post we installed bash via FreeBSD’s port system (pkg). About one month has passed since then and a new version of bash has been released in the mean time (just as I hoped it would!). So let’s see how to update packages, right?
The most common case is that you want to update all your packages. There are two commands you should know in this regard:
# pkg update
This updates the repository catalogue so that the system knows which package versions are available in the remote repo. You don’t normally have to run this explicitly since FreeBSD will automatically fetch the latest catalogue if it thinks that the local one is too old.
# pkg upgrade
This will tell you which packages can be updated and perform the actual update if you choose to do it.
In this case, a new version of the package management tool was also released. Pkg must be updated before any other updates can happen but other than that it works just like any other update does.
The ports system
What are “ports”? The process of making a software (for which the source code is available) build on a system that it was not necessarily meant for is called porting. Depending on the piece of software this can be easy (the program builds out of the box) or extremely challenging (a lot of code needs to be patched to make it work). In order to make things easier for everybody, FreeBSD developed the ports system which is basically a directory for each application that was ported and a Makefile as well as some support files in it. These contain everything needed to build the respective application on FreeBSD simply by issuing make inside that dir. The directories make up what is known as the ports tree.
The ports system originated in early FreeBSD and quickly spread to the other BSDs as well. And even on Linux there are people who like concept: Gentoo Linux for example is based on portage which builds on the very same concept (but works rather differently in the end). Well, since I told you to deselect the ports tree during the installation you do not have it on your system. So let’s first get it in place!
Getting the ports
All newer versions of FreeBSD offer the portsnap command which makes that very easy:
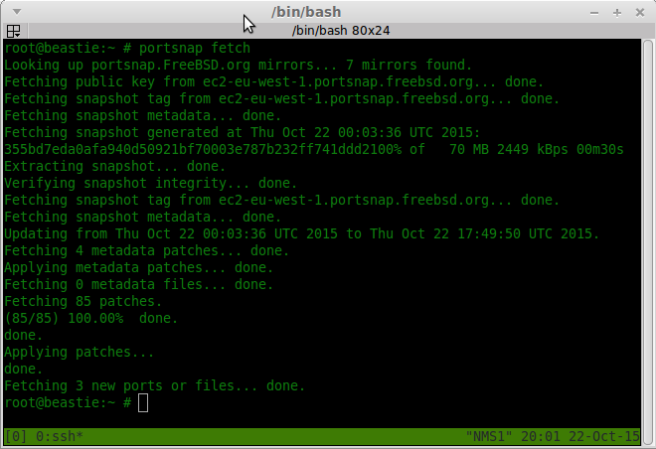
# portsnap fetch
If you do not have the ports tree on your system this downloads a snapshot, verifies it and also fetches any patches for ports changed after the snapshot was created. You can use the same command to fetch the newest patches if you already have a ports tree and receive any changes made in the meantime.
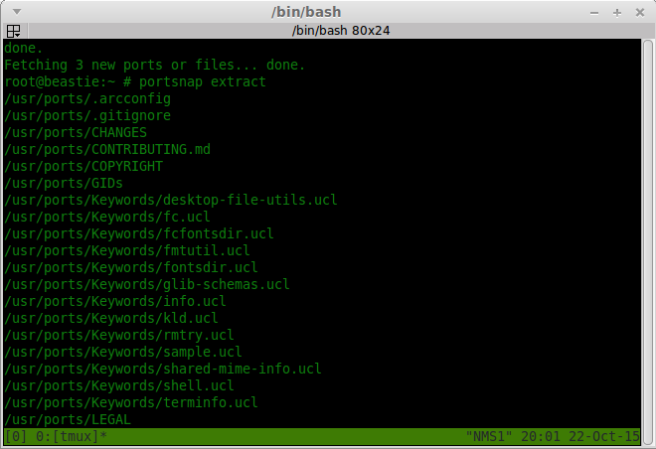
# portsnap extract
With this command you tell the system to actually unpack the snapshot and populate the ports tree. Only use this the first time you install the ports tree to your system. It doesn’t make sense to use it afterwards!
# portsnap update
You do not need this if you have just installed the ports tree for the first time. It is used to update the local ports tree after downloading any patches with fetch. If you wish you can also combine the two parameters to update the ports tree (portsnap fetch update).
You could also get the ports tree via Subversion. But portsnap is just so convenient to use that there’s barely any reason to do so.
Finding your way around the ports tree
So now let’s take a look at it! Where are all the files? They are in subdirectories of /usr/ports. We’ve installed bash in the last post using binary packages. Where would we find it in case we wanted to build it from ports? Being a shell, /usr/ports/shells/bash is quite a logical place, don’t you think? And where would you look for, say, the ruby interpreter? You’ll find multiple versions of it in /usr/ports/lang/ruby2x (ruby 2.0, 2.1, 2.2).
If you work with the ports tree for a while you’ll get at least an idea where things belong to. But what is the best way to locate a specific port? You can use the whereis command followed by the program name and it will tell you where the port lives! Just make sure you type in the right name. You won’t find php for example. But you will find the port if you look for php55 or php56 instead.
 Finding applications in the ports tree
Still having trouble? Perhaps the page FreshPorts can help you. You can search there and chances are good that you find what you are looking for and can find out the category and port name that way.
Building from ports
The first question is of course: Why should you build programs from ports? The ports system was invented to automate the build process when there were no binary packages available and you had to build every program from source. Today you can easily work with FreeBSD without ever touching ports.
But when does it make sense to use ports? The simple answer: If you have special needs! The binary packages are pre-build and there’s no way to change any compile-time options. If you’ve ever manually build a program on e.g. Linux, there’s a good chance that you have met configure which takes options like –prefix=/usr –without-package-xz –enable-newest-feature and so on. If you need some program feature that the pre-packaged program does not come with on FreeBSD, you can use ports. Or if you do not want a certain feature built-in which is selected by default, you can also use ports.
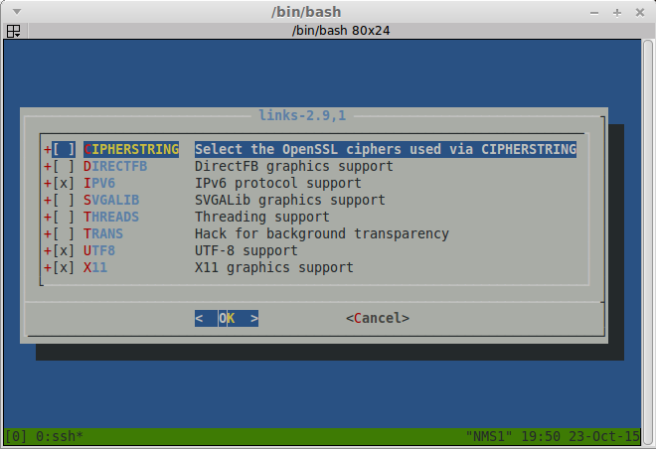 Selecting build options for a port
For packages that can be built with different options which the author of the port thought were interesting, you will be given a nice dialog window in which you can select or deselect certain options. Just navigate into the directory of the ports tree where the files for the application you want to build live and issue make.
This will bring up the configuration window if there are any options to set. Please note that your selection will be saved so you are not asked the next time you build the port. If you changed your mind and want to reconfigure the options, you can use make config.
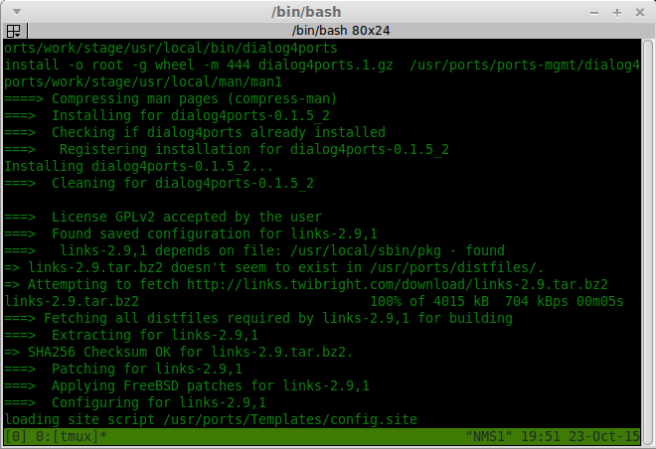
If you order the port to “make”, the source code will be downloaded from a known location (you do not have to do this yourself), decompressed, probably applied some patches and then built. Once the build is complete, you can use make install to install the program and make clean to clear the build directory of files remaining from the built.
It is also possible to combine several commands which the program make takes (these are called targets and are defined in a file called Makefile). So you can build, install and clean up one port by issuing make install clean.
You also don’t have to worry about dependencies. If a port needs other programs (or libraries) which are not present on the system, they will automatically be built from ports, too. And one more important thing: Don’t hesitate to mix binary packages and ports on your system. You don’t have to choose one and stick with that all the time. In fact the ports produce custom binary packages which are then installed using the normal package system. That’s why pkg is aware of any program that you installed via ports and can for example remove it from the system if you tell it to. You could also go to the port’s directory and use make deinstall.
Recursive operations
If you want to build a complex program that has lots and lots of dependencies (like e.g. Libre Office), it is a good idea to let FreeBSD build it overnight. There is, however, a big problem that you’ll face if you try out large unattended builds: Every now and then, when a new port is built as a dependency, FreeBSD displays the configuration window and pauses until you make your choice…
This is why there are recursive targets: You can use make config-recursive and the ports system will go through all the dependencies and display the configuration. So you can select all the options that you need at once before you use just make to build all those programs.
Mind one thing, though: If you enable more options, you may want to run config-recursive again. Why? Because the options that you selected may have pulled in new dependencies which are not yet configured. Running config-recursive will only display the configuration dialog for ports that were not configured previously. If you need to re-configure all ports, you can use the make rmconfig-recursive target to delete the stored configuration for the port and all dependencies and configure them again afterwards.
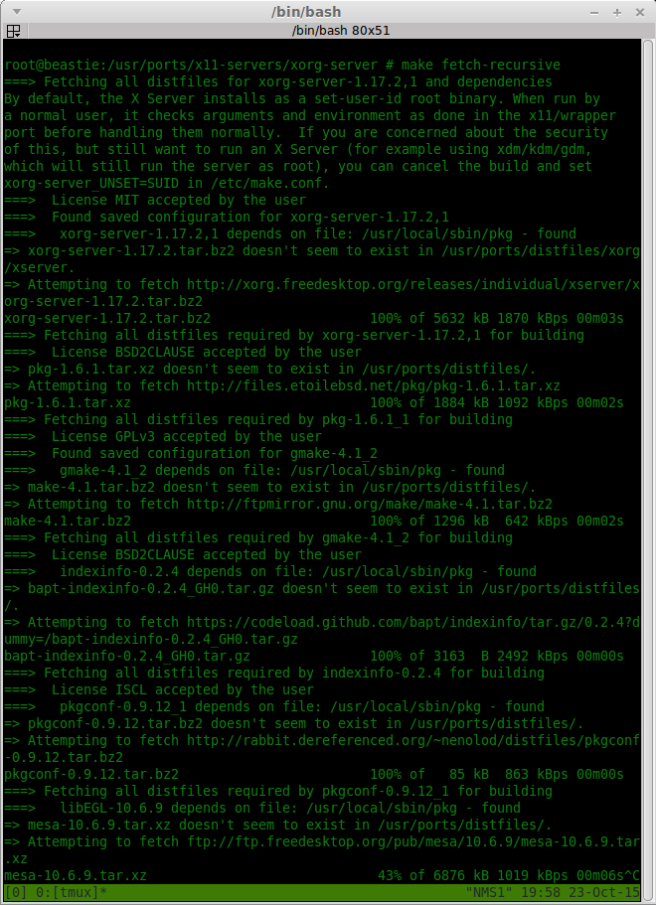
And in case you want to pre-load all source tarballs before starting an unattended build, there are the make fetch and make fetch-recursive targets. In very rare cases it can happen that all the sources that one port knows for its tarballs are no longer available (this is more likely to happen if you’re using a no longer supported version of FreeBSD and/or an out-of-date ports tree). You can fix this if you simply find another source of the needed file on the net and download it to the /usr/ports/distfiles/ directory where all those source tarballs for the ports live.
Updating the system from source
Just like with ports the first question ought to be: Why should you? And in this case the answer is even more: You probably shouldn’t. There are people who like to build from source and that’s ok. But if binary updates work for you, in general you should stick to them.
When do you need to compile the system from source? Well, obviously this is the method of choice if you are a developer who needs to build the absolutely newest code. But if that’s the case you’re probably not reading this tutorial anyways, right?
So – why should you do it? There are basically three main cases:
- To have it done once
- Because you want to aim for the stable branch
- You want to customize e.g. your kernel configuration
Do not laugh at the first one. It is a perfectly valid reason. While building FreeBSD from source is extremely easy, it is good to have done it at least once. It will help you to get a little bit closer to your system.
FreeBSD comes in several branches. You can decide to follow another branch and compile the code for it. We’ll talk about that in a minute.
And last but not least if you have special requirements and want to customize your system for that. E.g. you man decide to compile your firewall of choice (FreeBSD offers three of them) into the kernel. In that case you have to build from source.
Getting the source
We cannot discuss scenario three (customizing FreeBSD) here. That would require its own post (or even more). Besides – I’m not too knowledgeable in that field.
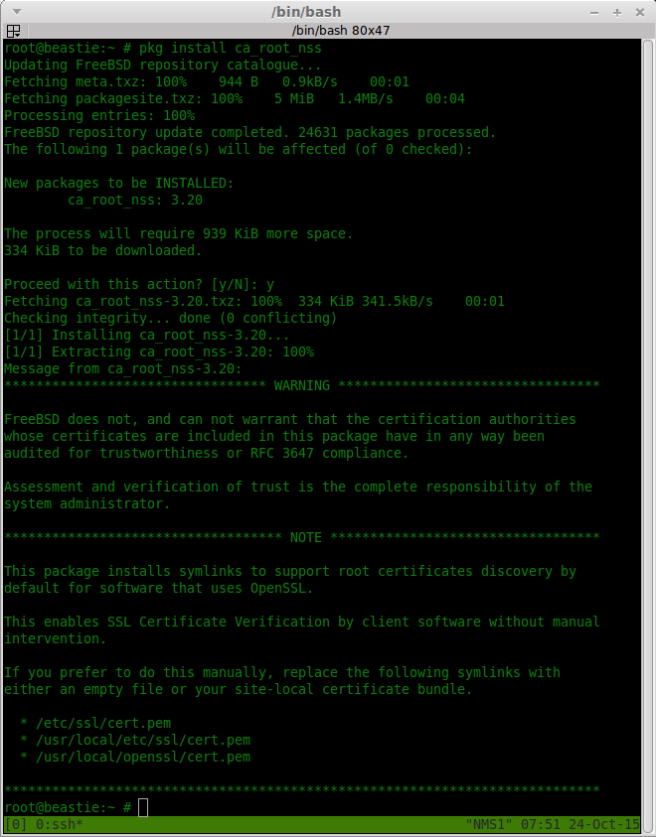 Installing the certificate bundle
Let’s assume we want to follow the stable branch. First we need the appropriate source code. FreeBSD uses Subversion for version control and a slimmed version of it comes with the system (“svnlite”).
You may want to install the certificate bundle first so using a secure connection does not result in an error because the certificate is unknown. To do that you can simply use the following command: # pkg install ca_root_nss.
Next we need to checkout the current version of stable code with svn. FreeBSD source code always goes into /usr/src.
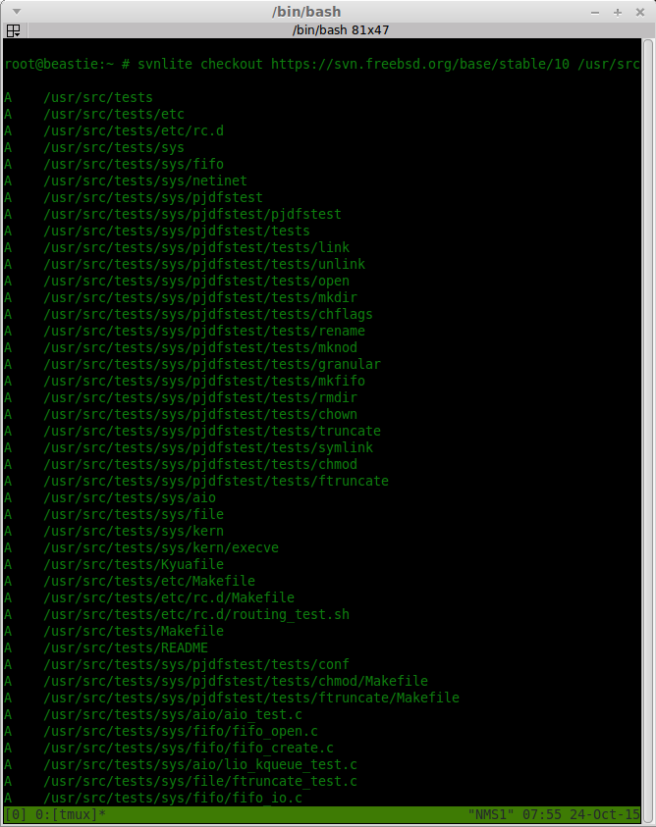 Checking out system source with svn
Start the checkout process with
svnlite checkout https://svn.freebsd.org/base/stable/10 /usr/src
and wait for Subversion to finish. This can take quite a while because the source code is quite large.
Once it’s done, you’re set. Go to /usr/src and issue make buildworld. This will build the userland part of FreeBSD (and – depending on your CPU – take a long time to finish).
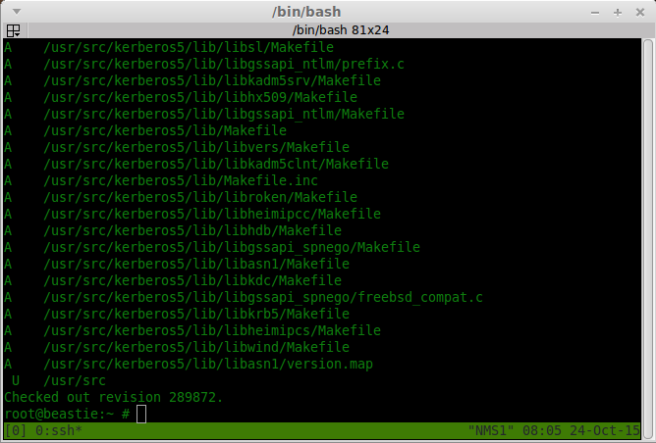 System source checkout completed
What gets build goes into /usr/obj, btw. So the source code is kept separate from it and anything in /usr/obj can be easily removed anytime before doing a clean new build.
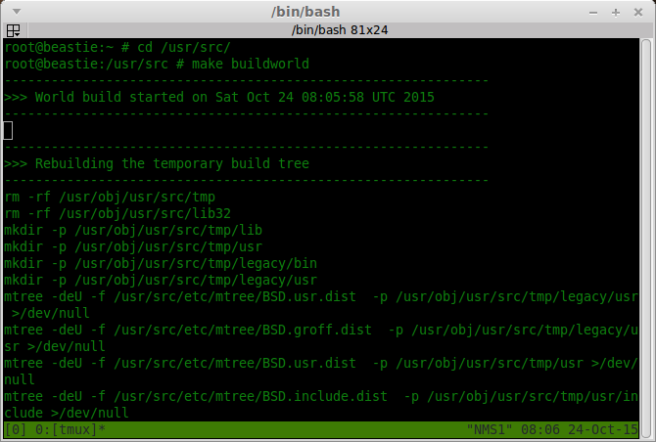 Building the FreeBSD userland from source
When the world build has completed, it’s time to build the kernel as well: make buildkernel – this does not take such a long time to complete.
Now both parts of the system need to be installed with make installkernel and make installworld. Always remember the correct order:
- Build world
- Build kernel
- Install kernel
- Install world
The reason is that “buildworld” needs to run first, is that it uses the system compiler to bootstrap the new compiler which is then used to build the whole userland and, after that, the kernel. And the reason that the kernel should be installed first is that after updating the userland you really should reboot. You’ll probably get away without rebooting if you just updated within the same release version but updating to a new release from source will mean that you cannot count on the system to just keep running like before due to incompatible changes made. In theory you are even encouraged to boot into single user mode to do the update! But I have not found that this is really required. Just mind the right order and stick to it.
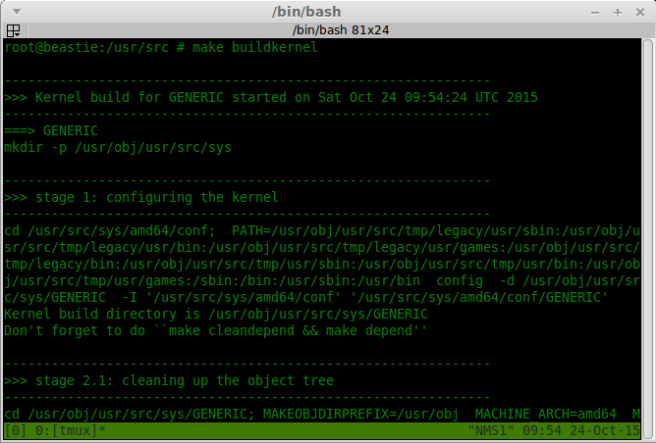 Building the FreeBSD kernel from source
After rebooting you should find that the system is running on the new kernel. Now we’re on FreeBSD stable. However… That does not at all mean what you’re probably thinking it does!
FreeBSD branches
I’ve stated before that there are multiple branches of FreeBSD, one of which is stable. Let’s take a look at what they are.
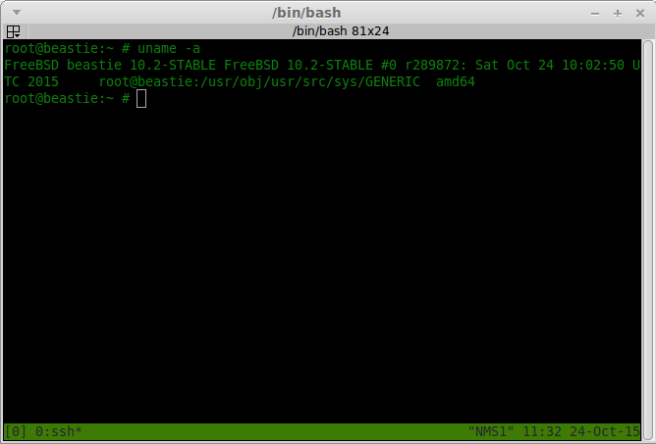
First there’s release. If you followed this tutorial along, version 10.1.0 was the system that we started with. Uname denotes the kernel as 10.1-RELEASE. Release is just that: A certain release. It will stay as-is forever, no changes applied to it.
Then there’s the patch branch or “releng“. This is “release + patches” and in fact the most stable branch available due to error corrections and security fixes. Uname will report something as kernel 10.1-RELEASE-p12. The patch branch is meant for conservative production systems.
We’ve already touched stable and even updated to it. If the patch branch is the most stable version, why is this one called “stable”? Yes, it is a bit confusing, I know. The reason is that this branch receives new features (which the patch branch does not) but the APIs are kept stable. Hence the name. This branch is not officially recommended for production use but the company that I work for has used servers with stable for years and they behaved absolutely fine.
Finally there’s current (called “head” in the repository). This is where the development takes place. If you’re not a developer or somebody who wants to test the newest features as early as possible, this is not for you.
What’s left
I would very much have liked to cover file flags & secure levels as well as jails. I’d liked to have written about tools like portmaster and system components like the three firewalls. But that might or might not happen in a future post…
What’s next?
In exactly one month I’m going to write my final exams to become a qualified IT specialist. So I’ll have to see what topic (if any) I manage to write about next month. Since I’ve always wanted to write the followup to my post about licenses, this may be a good candidate.

